March 2026 · 4 min read
How to Turn Any Image into Kaleidoscope Art
Turning an image into kaleidoscope art is easier than most people think. With the right source image and a few symmetry adjustments, almost any photo can become a striking geometric composition.
Step 1: Choose the right image
Start with an image that has interesting colors, textures, or shapes. Close-up photography usually works better than distant scenes because the details are more visible in each repeated segment. See tips for best kaleidoscope photos for specific image recommendations.
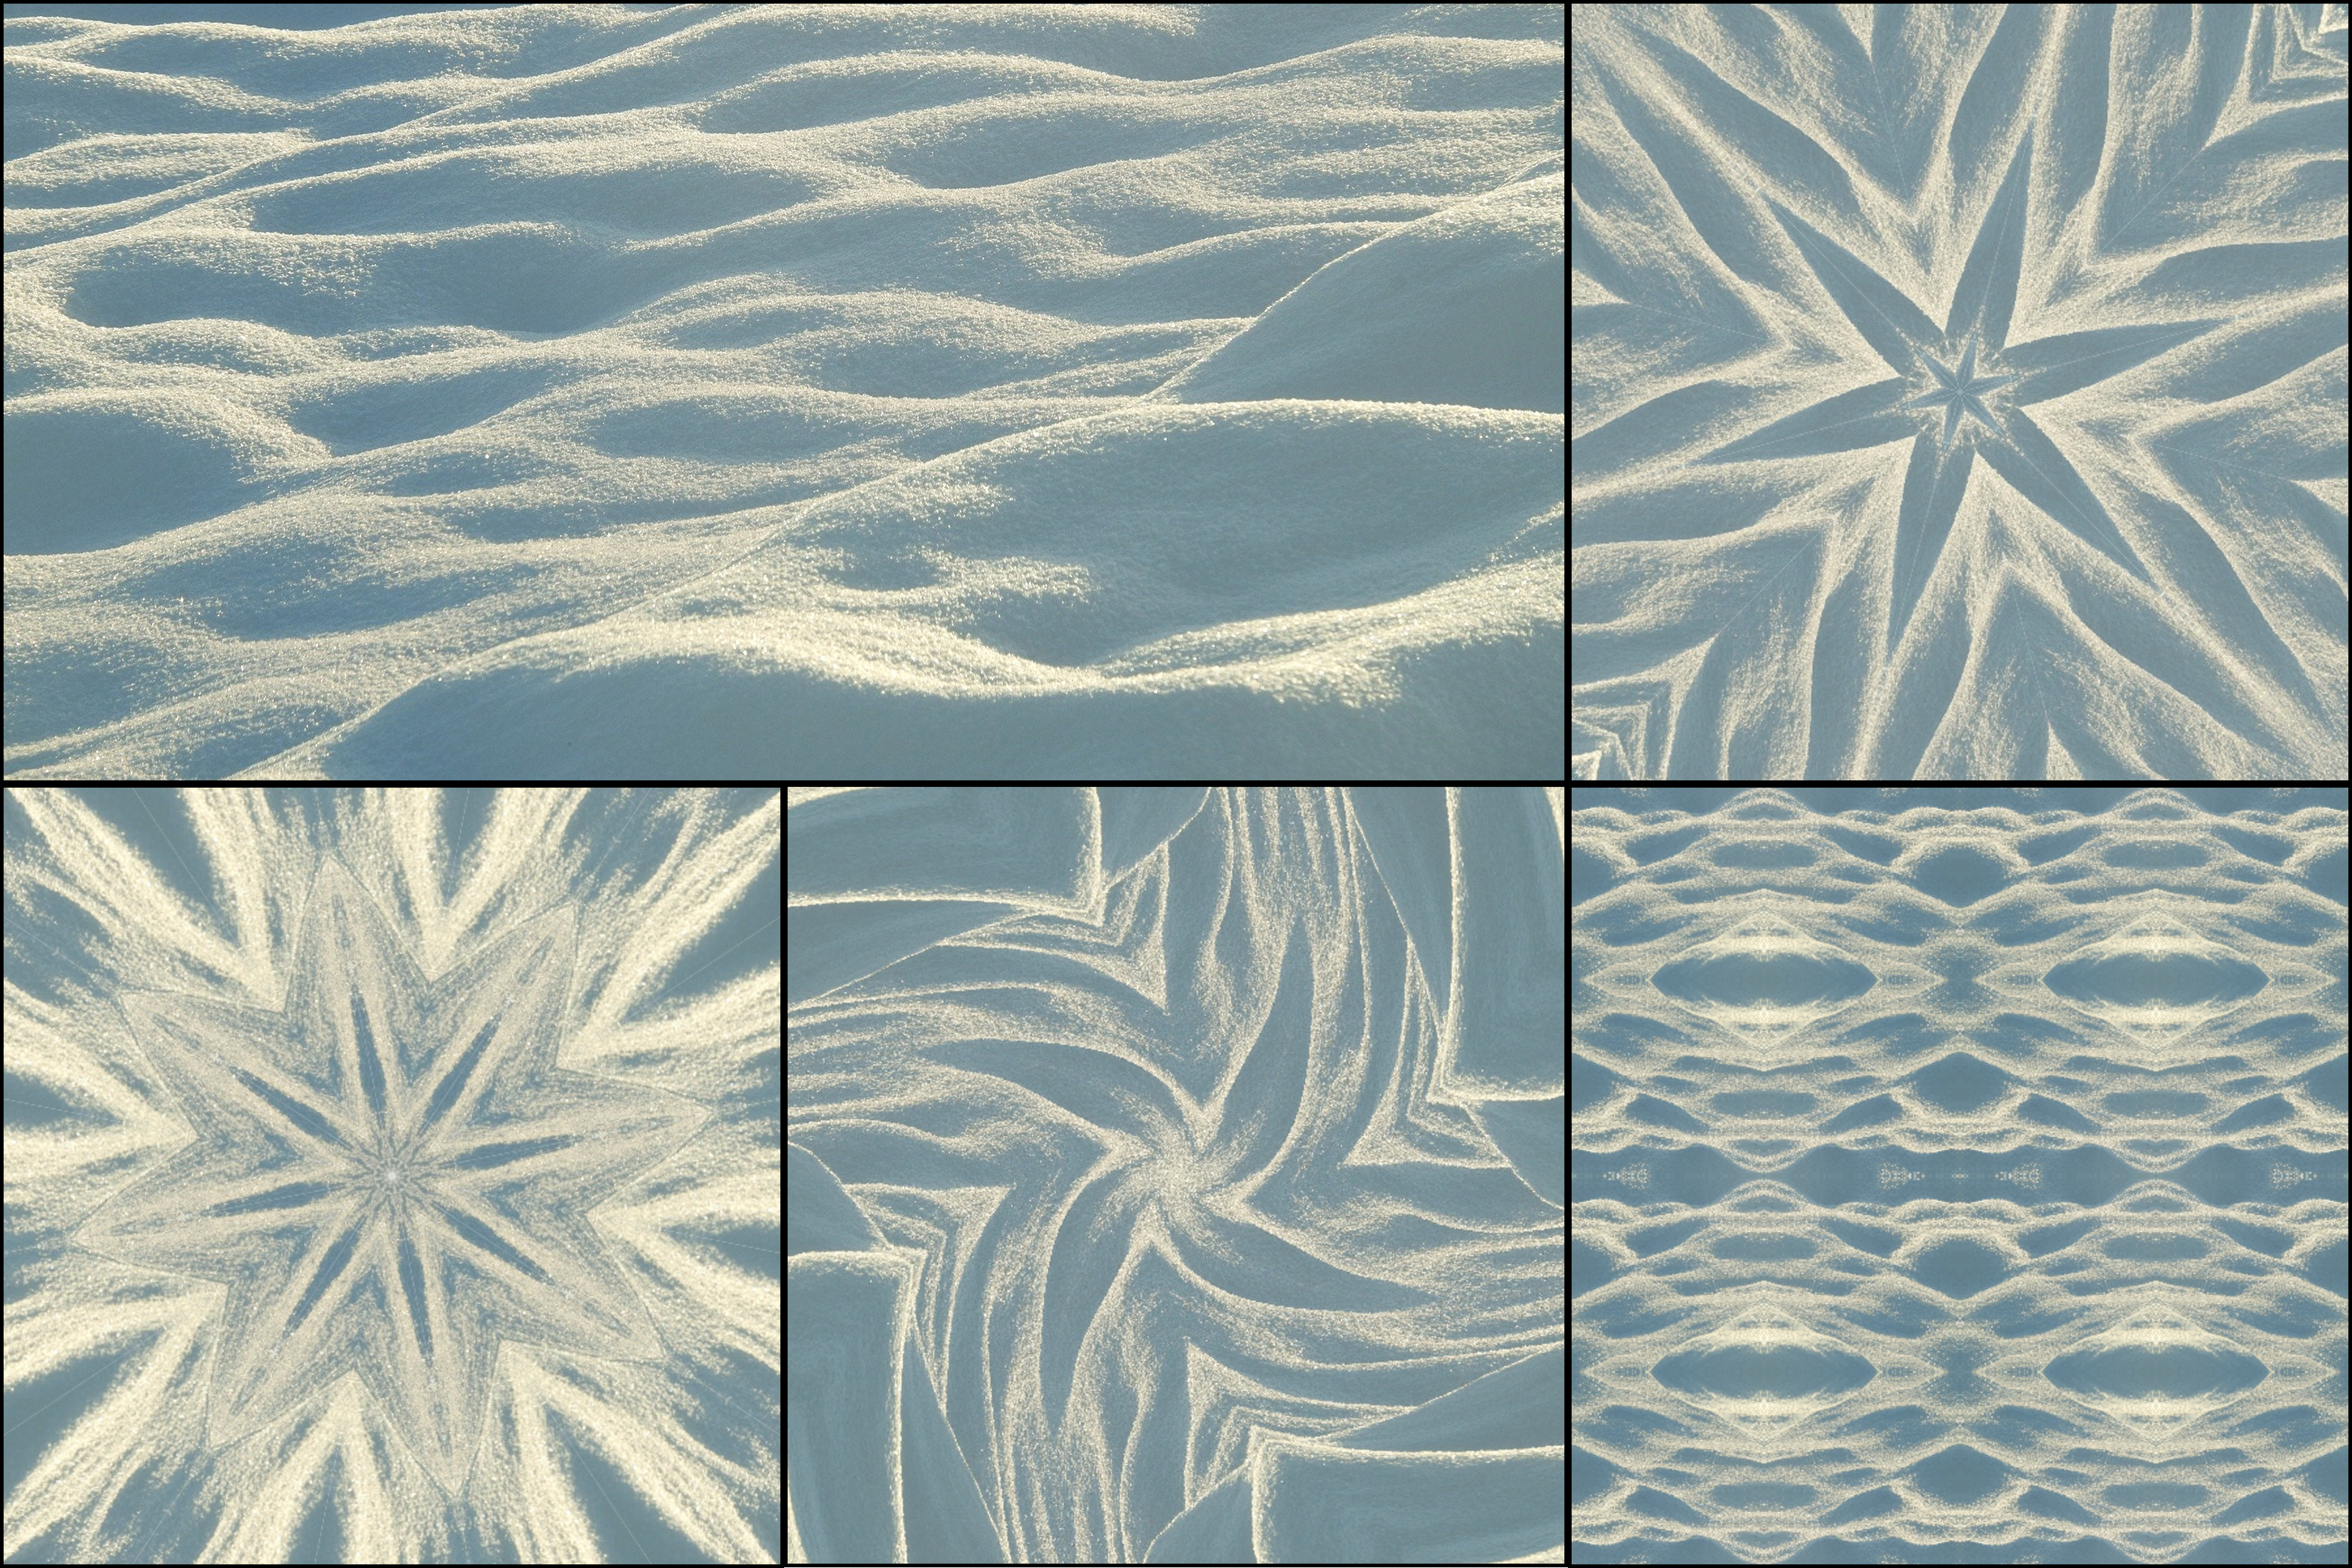
Good choices include flowers, fabrics, ornaments, tiles, colorful food, architecture, and abstract textures.
Step 2: Upload the image
On desktop, upload the image into KaleidoMaker. This workflow is ideal when you want a more controlled and polished result compared with live kaleidoscope camera mode on mobile.
Step 3: Adjust the symmetry
Try different segment counts to see how the structure changes. Fewer segments often create bold graphic shapes. More segments create denser, more intricate compositions.
Step 4: Refine the composition
If the output feels messy, the problem is often the source image rather than the tool. Try cropping to a more interesting area or switching to an image with stronger contrast and cleaner shapes.
Step 5: Export the final result
Once the pattern looks good, export it as an image or animation. Free users can export watermark-free images. Premium users can unlock watermark-free higher-quality video export for unlimited use with a one-time purchase.
A simple rule of thumb
If an image already looks visually interesting on its own, it usually has a good chance of becoming strong kaleidoscope art. Browse 10 beautiful kaleidoscope pattern examples to see the range of results possible.